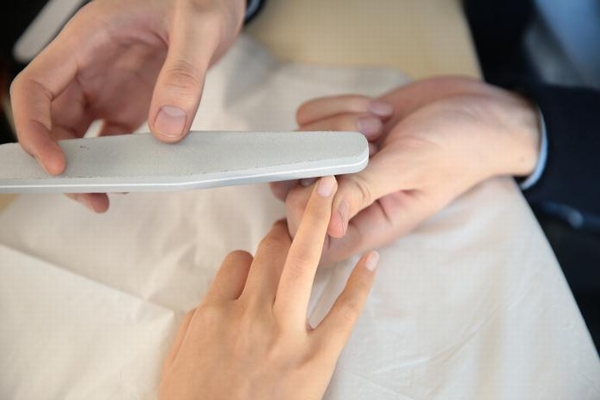
Step 1:
Strip nail with a sponge to remove the surface texture and make it smooth
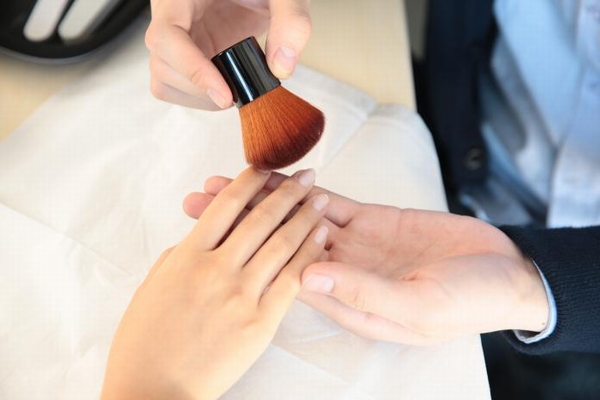
Step 2:
Sweep away the dust with brush
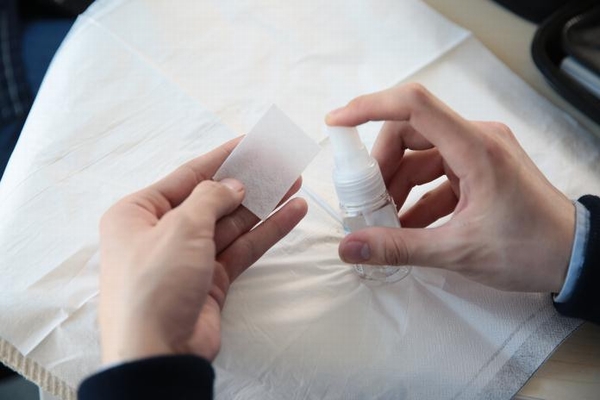
Step 3:
Take alcohol to wipe the nail with a cotton pad, remove grease
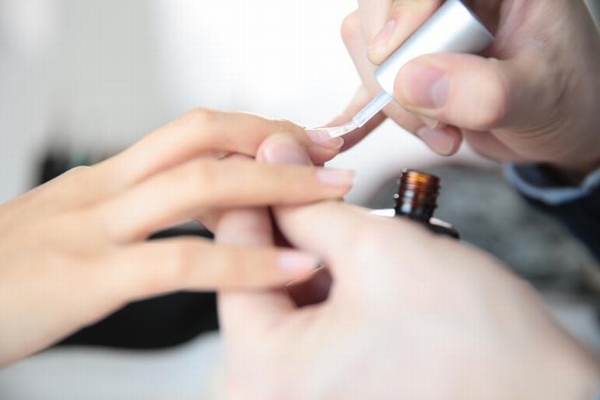
Step 4:
Apply the nail base oil
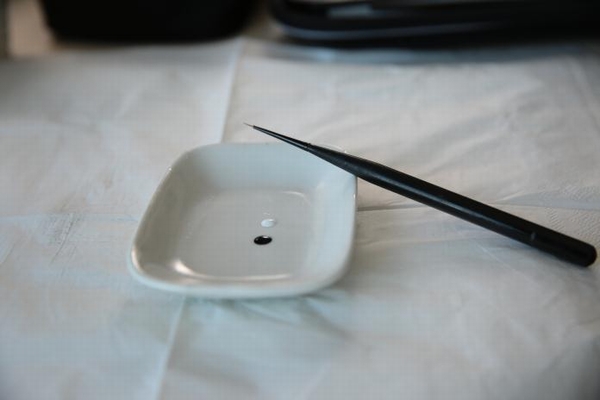
Step 5:
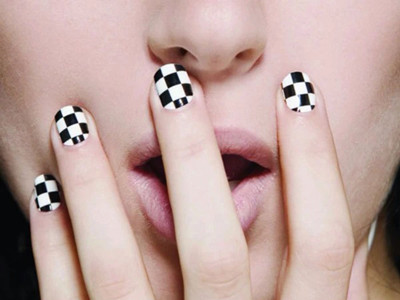
Put a little black and white nail polish in the palette
Tips: nail polish is easy to dry, so take a small amount each time
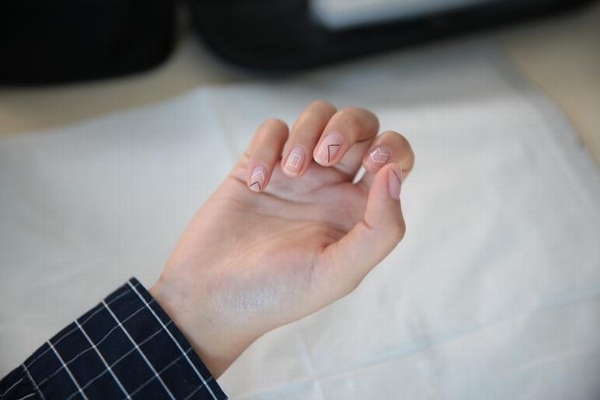
Step 1:
Outline contour lines with a small brush stick
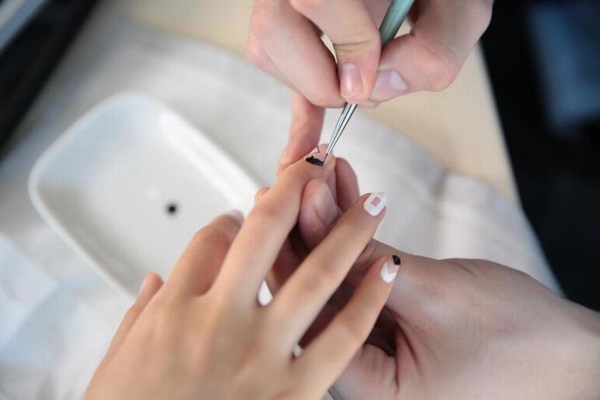
Step 7:
Filled the pattern with a small brush stick

Step 8:
Finally paint a layer of bright oil
Do not forget to moisturize your hands by hand cream.
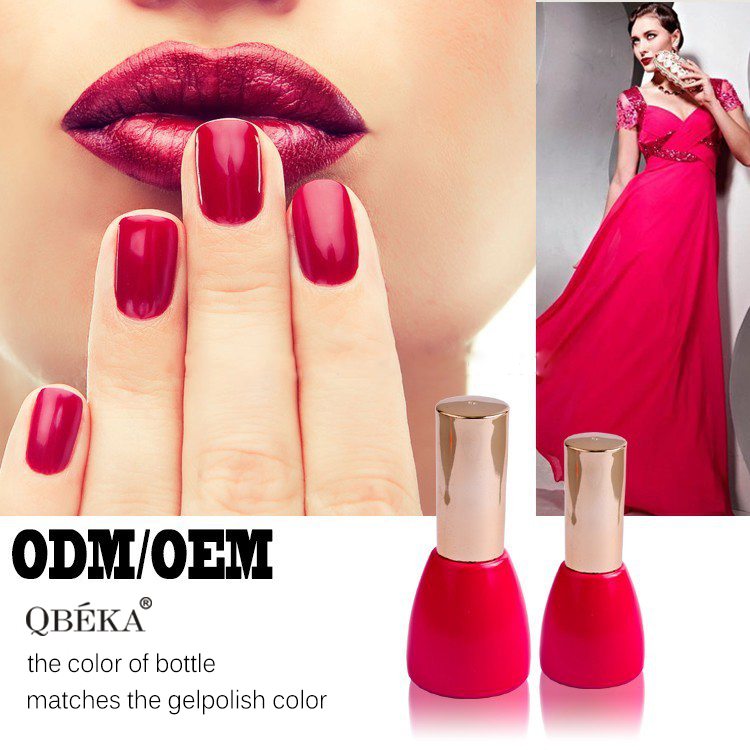
QBEKA Nail Gel
Polish Your Nail, Light Up Yourself
Effective:
1. Easy to choose the color.
2.European quality, easy applying.
3.Leveling well.
4.Odorless, safety.
5.The color power will not be layered with the gel.
6.No shrinking.
7.Lasting for 3-4 weeks.
8.Easy to apply, with a base+color+ top(3 steps), easy to learn, Suitable for the salon. Suitable for doing it at home by self.
9.The UV/LED nail polish cured by UV or LED lamp, UV lamp cures in 2 mins, LED lamp cures in 30-60 seconds.
10.Easy to remove with acetone (remover liquid ), about 5-10 mins.
Applications:Nail Art Beauty,Nail Salon,Nail SPA or Training